Most home internet ISPs will give you a router for the home and today, many of these are decent enough with enough power to cover all but the most expansive homes. You might need WiFi repeaters to adequately take advantage of these, but there is another option. Why not get you a decent router? Read More: Mi Router 4A Gigabit Edition offers fast WiFi for under $30 Not too long ago, we saw Xiaomi announce an updated version of the popular Mi Router 4A in form of the Mi Router 4A Gigabit Edition. We have had one of these bad boys in the house for the past few days and in this post, we shall guide you through the unboxing ad setup process.
Mi Router 4A Gigabit Edition Unboxing
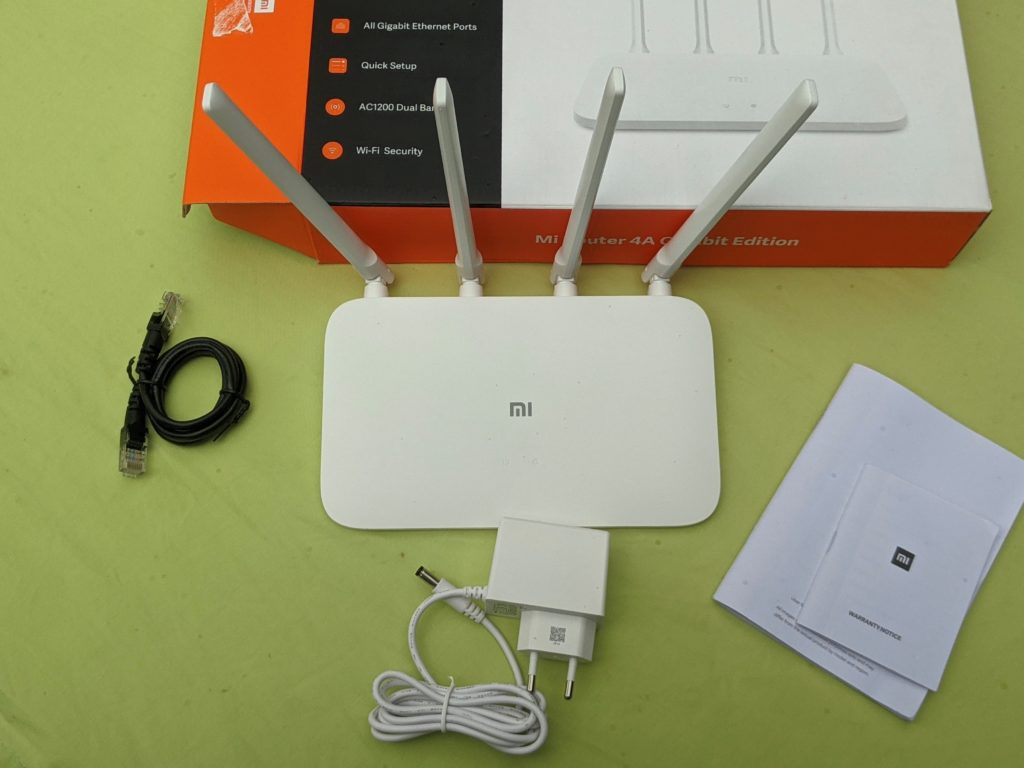
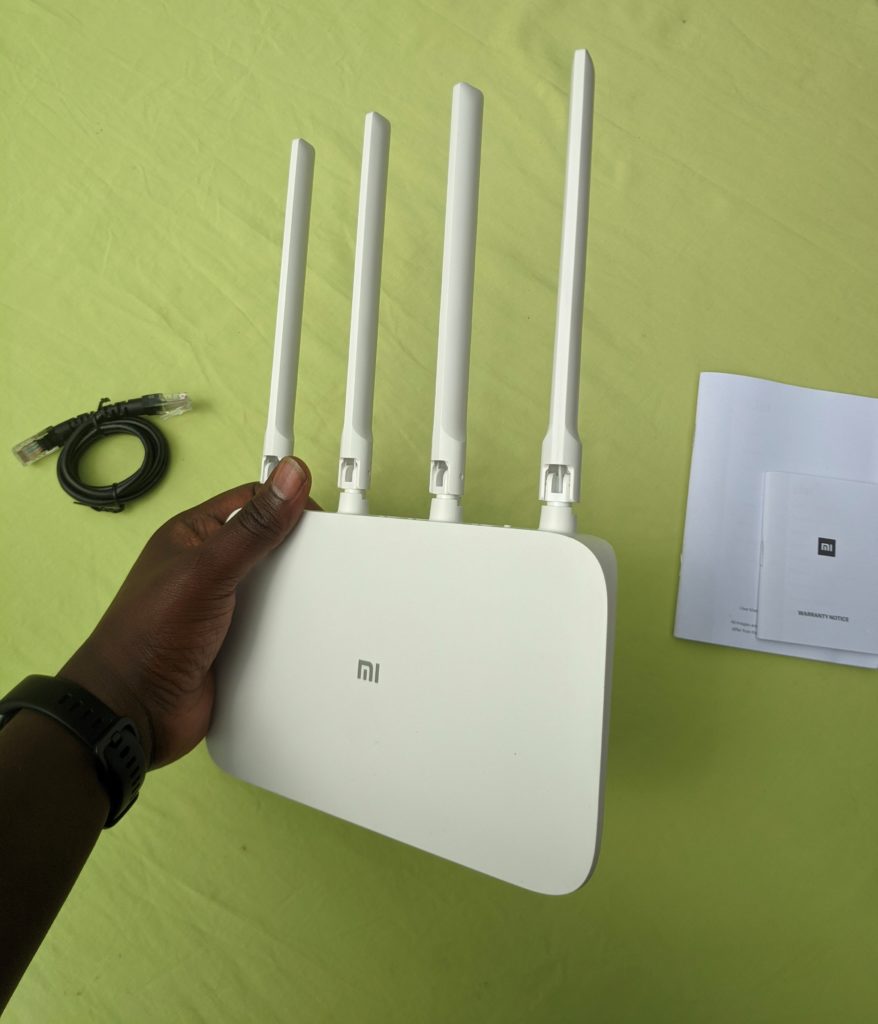
The Mi Router 4A Gigabit Edition is still a router and as such, doesn’t exactly come with much out of the box except the bare essentials that you need to get going. In the box, you get the following:
1x Mi Router 4A Gigabit Edition1x Power brick1x ethernet cableWarranty info and user guide.Set
Mi Router 4A Setup
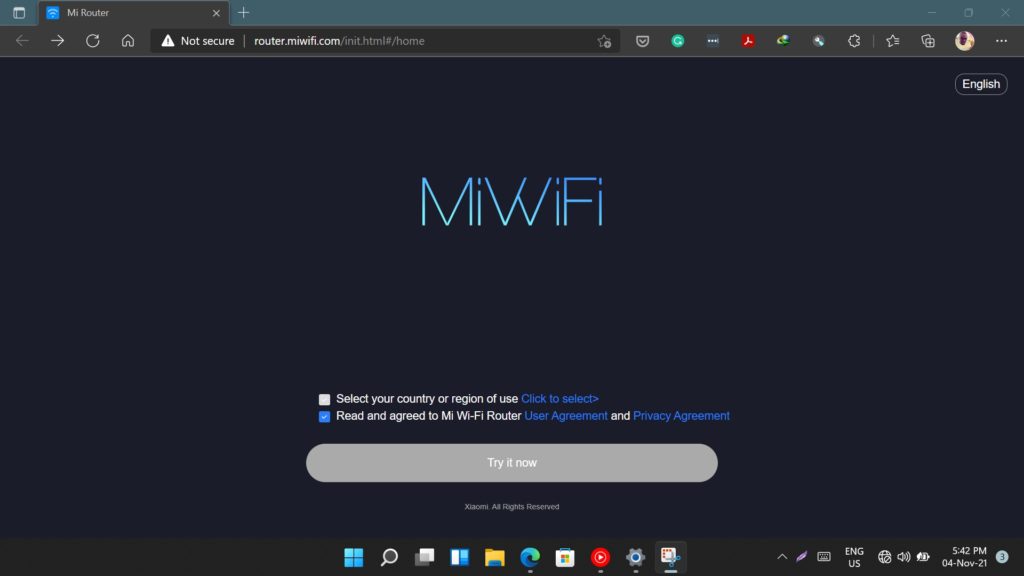
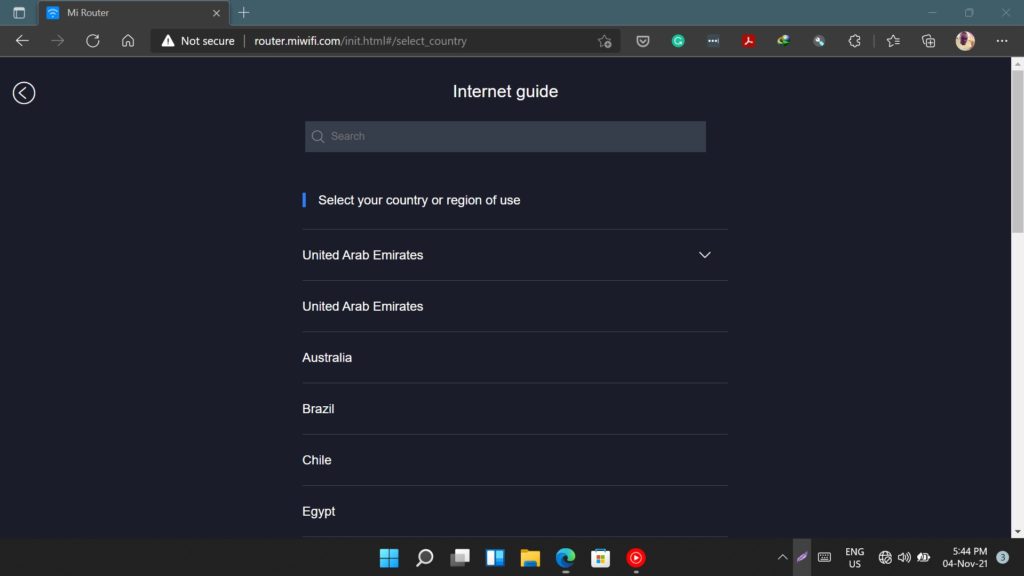
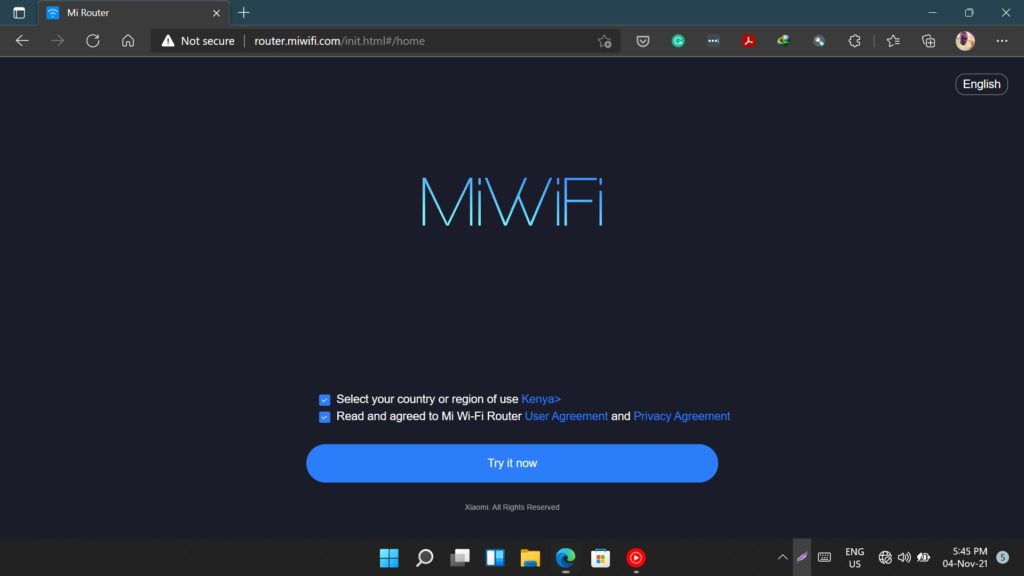
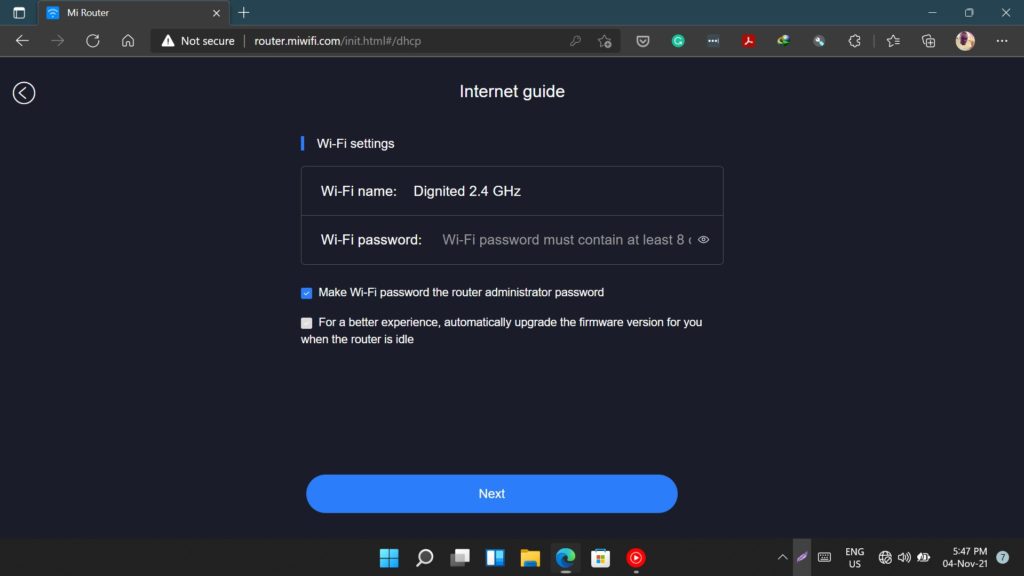
I am currently on the Safaricom Home internet plan which comes with the Adrian AK3300 4G Router. It is pretty reliable and I am able to get decent signal throughout the house. For the setup process for this Router, I will be turning off both 2.4GHz and 5GHz access points on the AK3300 and daisy-chaining this Mi Router 4A Gigabit Edition from one of the Ethernet ports of the router. Once you plug the router in and turn it on, you should see two open networks, one on the 5GHz and another on the 2.4 GHz band. Click on either of them and your browser should open with the setup screen. The MiWiFi setup screen will ask you to read and agree to the user agreement and Privacy Agreements and select your country or region. Please note that you might have to scroll the list as the search function is a little wonky. At least in my experience. Once you’ve set everything accordingly, the greyed-out ‘Try it now’ button should turn blue. Tap on it to proceed. Next, the setup wizard should detect your current internet connection. Note that if your network requires any additional configuration, this is where you’ll be required to input the said details but in my case, the Safaricom-provided router is as good as plug-and-play so that’s sorted for me. From here, simply proceed to the next screen and that entails setting up your SSID or your Wi-Fi name and password. Simply type in your Wi-Fi name and Wi-Fi password. You might also want to check the little box to make your admin password the same as your Wi-Fi password. One less thing to remember. So, this router has both the 2.4GHz and the 5GHz bands. Once you set these up, the router will restart and you should see both Wi-Fi networks available across your devices. Simply pick your preferred band and key in the password you’ve set and that’s it! If everything works out, you should be online. Now that the setup is complete, I gotta say, this router looks and feels modern enough and it should seem right at home in any contemporary style setup. Stay tuned for an upcoming review with my long-time thoughts of this product. In the meantime, if there’s anything you’d like to know about this product in the full review, feel free to drop a comment below.
